A DIY Guide to Repairing Rotted Wood
2020.01.08

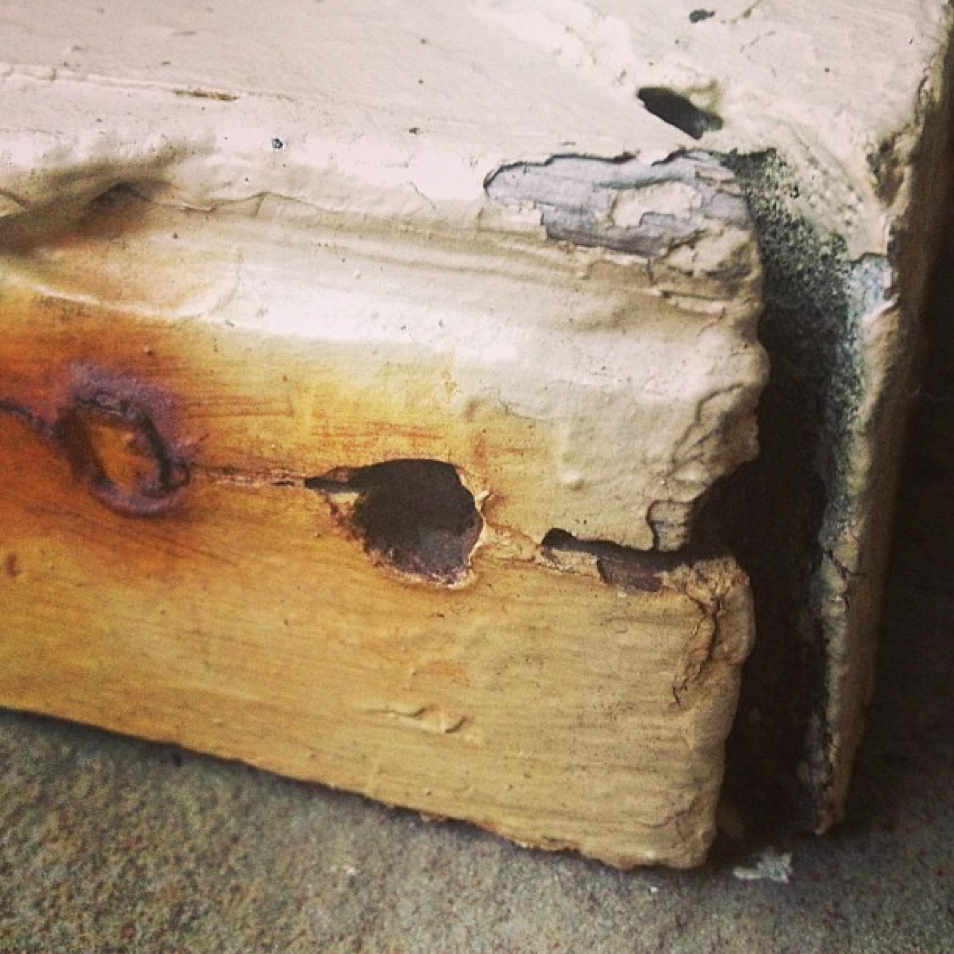
Wood rot sticks out like a sore thumb and almost completely ruins your interior décor. The point is, most wood in home décor will likely end up rotting at some point. Given enough time, water, moisture, humidity, and not to mention lack of maintenance –you’ll have wood rot sooner than later.
The good news is that you don’t have to spend too much money replacing the old wood with the new when you can repair it. This DIY guide on wood rot repair will help you restore the natural beauty of your home, and you won’t have to even break a sweat – for the most part.
In most cases, the wood rot is localized and can be patch-repaired or filled. It makes more sense to preserve the unique character of your home than to needlessly replace the old with the new. The trick is to retain as much of the original material of the house as possible to preserve its beauty. It also makes sense from a monetary perspective, since small repairs can be done by yourself.
Before proceeding with any repairs, try to find out the root cause of the rotten wood. Is it due to a lack of paint or sealer? Are there any clogged, damaged, or old downspouts nearby that may cause water to splash against wood surfaces (this is the primary reason for wood rot). If so, any repairs you make will be subjected to the same conditions and you’ll need more repairs.
You will need the following tools and materials:
• Putty knife
• Saw
• Steel tape
• Gloves
• Timber treatment solution
• Paintbrush
• Rasp
• Utility knife
• Wood chisel
• Polyester filler
• 100-grit sandpaper
• Wood hardener
• Sanding block
The following guide works on doors, cabinets, and pantries.
Step 1:
Remove the rotted wood from the door. Use a sharp tool like a 5-in-1 to help you. Be careful not to damage the good wood around it. Make sure the wood is completely dry otherwise the new treatment won’t work. Apply wood treatment solution and press it to the affected wood. Leave the solution for at least 24 hours and apply further coats as necessary. Fill any cavities with wood filler. Use abrasive paper to smoothen out the door.
Step 2:
If you ended up removing more wood from the door, you’ll probably need some new weatherboard. Buy some weatherboard, at least twice the width of the door. Your door opens outwards which means that the outer ends have to be sawn at an angle to let the door fully open against the wall. Measure the width of the door and carefully mark on the new weatherboard. Trim off as much wood as is needed to open the door with ease.
Step 3:
Once you have applied the new weatherboard, it’s time to protect it from the ‘elements’. Wood tends to swell in damp environments, so make sure to apply wood primer to all wood surfaces. Allow the primer to dry. Use a bubble level to mark the position of the weatherboard. Hold it in place and drill new holes to fix screws. Use brass screws and counterbore holes to minimize the chances of corrosion.
Step 4:
Fill the holes with an undercoat and a topcoat to cover the screw heads. Both these coats are used to ensure the wood is well protected from bad weather. Window sills and weatherboards have a drip groove that is used to deflect rain. If you are applying paint to these woods, take care not to brush excessive amounts to prevent the grooves from getting clogged up.
Want to know more about wood rot repair? Click here to learn more.
More Articles
Copyright © Fooyoh.com All rights reserved.